![]()
| Dashboard Layout |
This section describes the features related to the Dashboard layout.
The section consists of the following topics.
The Dashboard Title is located in the Dashboard Title Area, which is displayed at the top of the Dashboard. The dashboard title can contain text or image content.
If you are using the Ribbon menu in the Dashboard Designer, you can change title settings by clicking the Title button.
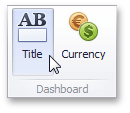
This invokes the Dashboard Title dialog, which allows you to change the text within the dashboard title, add an image, etc.
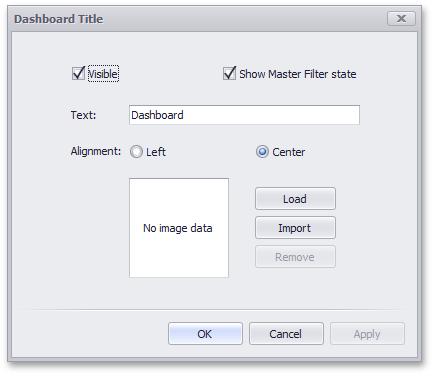
The dashboard title area can contain command buttons.
 icon) - allows
end-users to print or export the dashboard. To learn more
about printing and exporting, see the Printing
and Exporting topic.
 icon) -
allows end-users to modify dashboard parameter values. To
learn more about parameters, see the Using
Dashboard Parameters topic.
The Dashboard Designer provides the capability to arrange and resize dashboard items in various ways, using simple drag-and-drop operations.
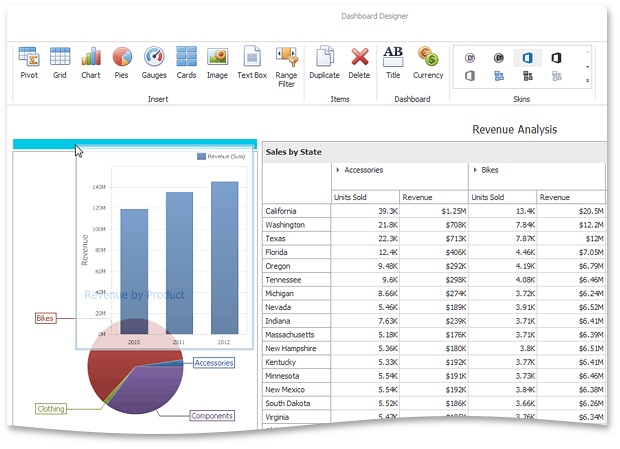
You can resize individual dashboard items (or groups of items) by dragging their edges.
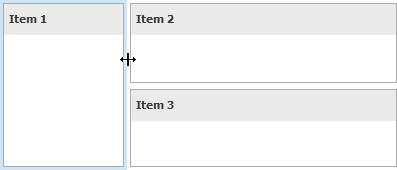
You can change the position of a dashboard item via drag-and-drop, using one of the following approaches.
 icon
in the top left corner, and drag the item to its new position.
icon
in the top left corner, and drag the item to its new position.The drag-and-drop indicator shows possible positions for the dashboard item...

...and sequentially displays areas that the dashboard item can occupy. The image below illustrates how a dashboard item is dragged.

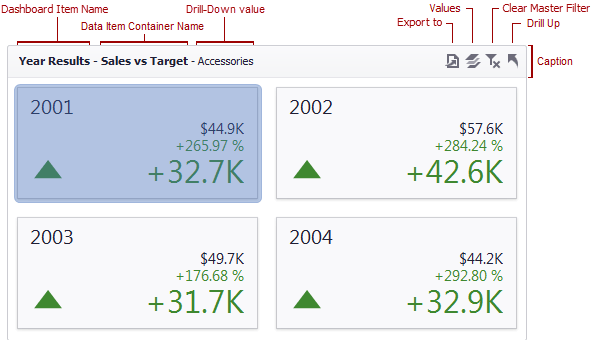
Each dashboard item has a caption that is displayed at the top of the item. The caption contains static text along with other information, as well as command buttons.
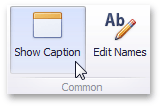
To show or hide the caption of a dashboard item, click the Show Caption button in the Design Ribbon tab...
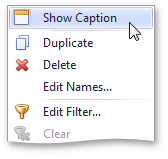
...or right-click the item when designing the dashboard, and click the Show Caption menu item.
 Note Note |
|---|
The caption of the Range Filter dashboard item is not visible by default. |
The caption of the Dashboard item contains the following information and buttons, depending on the dashboard item type.
| Names |
You can change the default name of the dashboard item or data item container using the Edit Names dialog. To invoke this dialog, right-click the item when designing the dashboard, and click the Edit Names... menu item (alternatively, you can use the Edit Names button in the Design Ribbon tab).
|
| Interactivity Information |
|
| Command Buttons |
|