![]()
The limitations of a Microsoft Word typical
This window is used to create documents. Users can define documents of a specific document type. If a document is defined with the appropriate document type, all the document typicals in this project of this document type are available for this document.
Click New.
Enter a unique name for the document.
Optionally, enter a description.
Select a document type.
Select the document and click Delete.
Click in the message dialog.
Select the document and click Copy.
Enter a new, unique name for the document.
Select the document and click Design.
The document desginer will open and you can create your document.
See also:
NOTE:
1. If attributes of a document typical stay empty, it is possible that the attribute itself is not selected in the Tag configuration.
After the library is configured a project can be set up. In this case, we have used a product called ‘MOTOR DIRECT ONLINE’ which contains the document module.
In the library we created a document type called 'Tag specifications'. In the active project we created a new document based on that document type.
Now we can design the document. Click Design and the document designer will open. If the document designer opens, you see four detail windows and a ribbon bar.
Document typicals
In this detail window all the document typicals are collected which are enabled (If document module is linked with an I/O link, the I/O should also be enabled to see the typical), and are active inside the current project, and which have the document type you defined for this document. The typicals can be dragged and dropped on the document. You can drag and drop multiple typicals at one time. Typicals can also be dragged and dropped into the document navigation tree, typicals can be inserted into document location in the document navigation tree
Document locations
When the New button is pressed or when dividing automatically, new document (navigation) location are created. A navigation location (level) can be used to 'group' typicals and other locations. Typicals can be placed inside a location by dragging and dropping typicals on top of a location in the 'Document navigation' tree. Locations can also be inserted into other locations (Nesting), a maximum of 10 locations can be nested inside each other. A document location can have max 1 template.
With the Delete button Locations or Typicals are deleted.
With the Export Excel button, the tree view can be exported.
Document templates
In this detail window all the document templates are collected which are enabled in the library, templates can be linked to (and unlinked from) a document (navigation) location.
File viewer
File viewer will show the typical or template typical which is selected in the 'Document template' or 'Document typical' details
Document navigation
In this detail window all the typicals and locations (with or without a template) are collected which are placed on the document.
In the document designer Templates only can be dropped (with drag and drop) on a document location, Typicals however can be dropped in the document or inside the document navigation. When doing so, typicals are inserted in the document and the variables are filled with the project data. Besides that, you also can change the document in any way you want. You can add pictures, create chapters, a table of contents and so on. It contains similar functions like Microsoft Word.
After you have finished the document you can save it as a Word or PDF document by clinking the Save as button. Pay attention, if you save the document as a Word document it could take a while to complete the save action. The reason therefore lays in the fact that all the document variable are converted to plain text. This is because Word normally saves all attribute as variable in the Word file. So when you use the F9 button to refresh your document (e.g. headers, table of content) all the document variables will become empty (because there is no data connection to Typical Manager anymore). To prevent this problem all variable in your document are converted to plain text.
With the Refresh Variables button, you can refresh all the variables in your document. For an example, if anyone else changed some data while you where designing the document, you can get the latest data with this button.
If you press your Right mouse button on a variable inside the document, you also can select Update field. This only updates that one field.
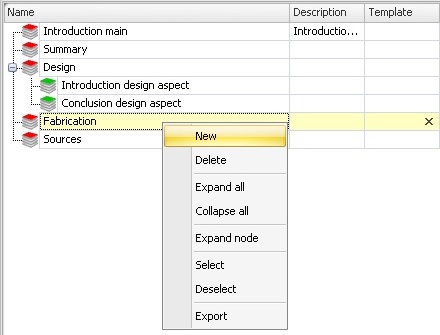
Document locations can be build using the 'New' (right mouse) button;
Document locations can be linked to each other. By doing this you can create a tree view;
When pressing the new button, a location is created at the selected row. When using the right mouse button, the position of the click is used to insert the new location(s);
Example:
Step 1 - Right click on a
row:
|
Step 2 - Popup window for
new location levels:
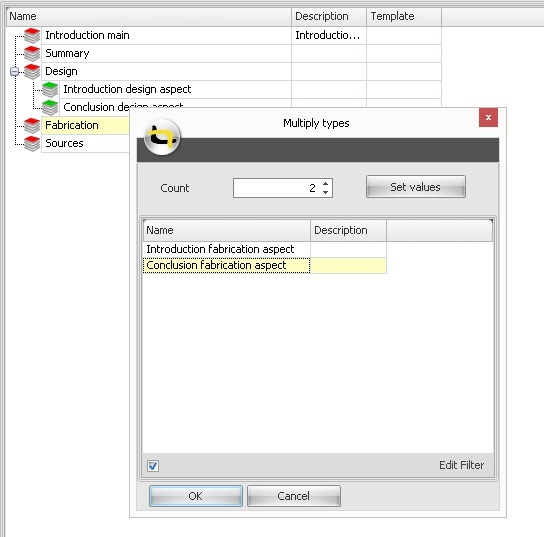 |

When pressing the New button in the bottom bar, or with the right mouse button, a small popup window is shown. Like the image above.
This menu contains two items, Location and Sub location.
Location
When creating a new 'Location' with the
button, the location is added below the selected row.
When creating a new 'Location' with the right mouse button, the location is added below the row where the right mouse button click was done.
Sub location
When creating a new 'Sub location' with the button, the location is added inside (as child of) the selected row.
When creating a new 'Sub location' with the right mouse button, the location is added inside (as child of) the row where the right mouse button click was done.
If the button "Divide" is pressed, the typicals can be divided automatically. For the automatic divide to work there are a number of things that happen. At the end of this page there is a flow chart, this flow chart should help you understand how typicals are placed in the document. Before going there, reed the following steps first.
The first column contains document locations. These document locations can be linked to typicals.
The location format specifies that typicals with document location "Algemeen" are first to be placed in the document. And that typicals of document location Sensor" or "Motor" are placed after typicals with document location "Algemeen".
See also:

For each typical added to an document module, settings have to be made. The document type and the document location for a typical can be selected. For an example (see picture), the datasheet '01 MAIN' belongs to document location "Algemeen". It is also possible to place a typical on a new page. To do this the "New page" check box must be checked.
The document type specifies in which document the typical should be used. The typical only appears in a document that is created with the document type "Specification sheet".
The document location specifies the position of the typical inside the document. The document location is only used when typicals are automatically divided.
See also:
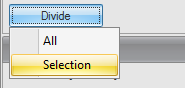
The typicals in the Document typical detail window can be automatically divided when pressing the "Divide" button. Then there is a choice, all the typicals can be divided or just a selection of it.
When hitting the button "Selection" the selected typicals in the document typical detail window are divided.
Sorting order / order of divide
When typicals are divided, the sequence of how typicals are sorted/ordered in the document typical detail window is used as dividing order.
The default sorting order is based on the product structure order, Document modules order and the typical order.
The functionalities below only works when automatic divide is used.
Start position
When a document contains the text <!startposition!>, then the first typical that is automatically divided, will be placed at that position.
New page
On a Typical - When a typical has the new page set to true. The typical starts on a new page.
On a Document location (in document location format) - The first typical placed at this location will start on a new page inside the document.
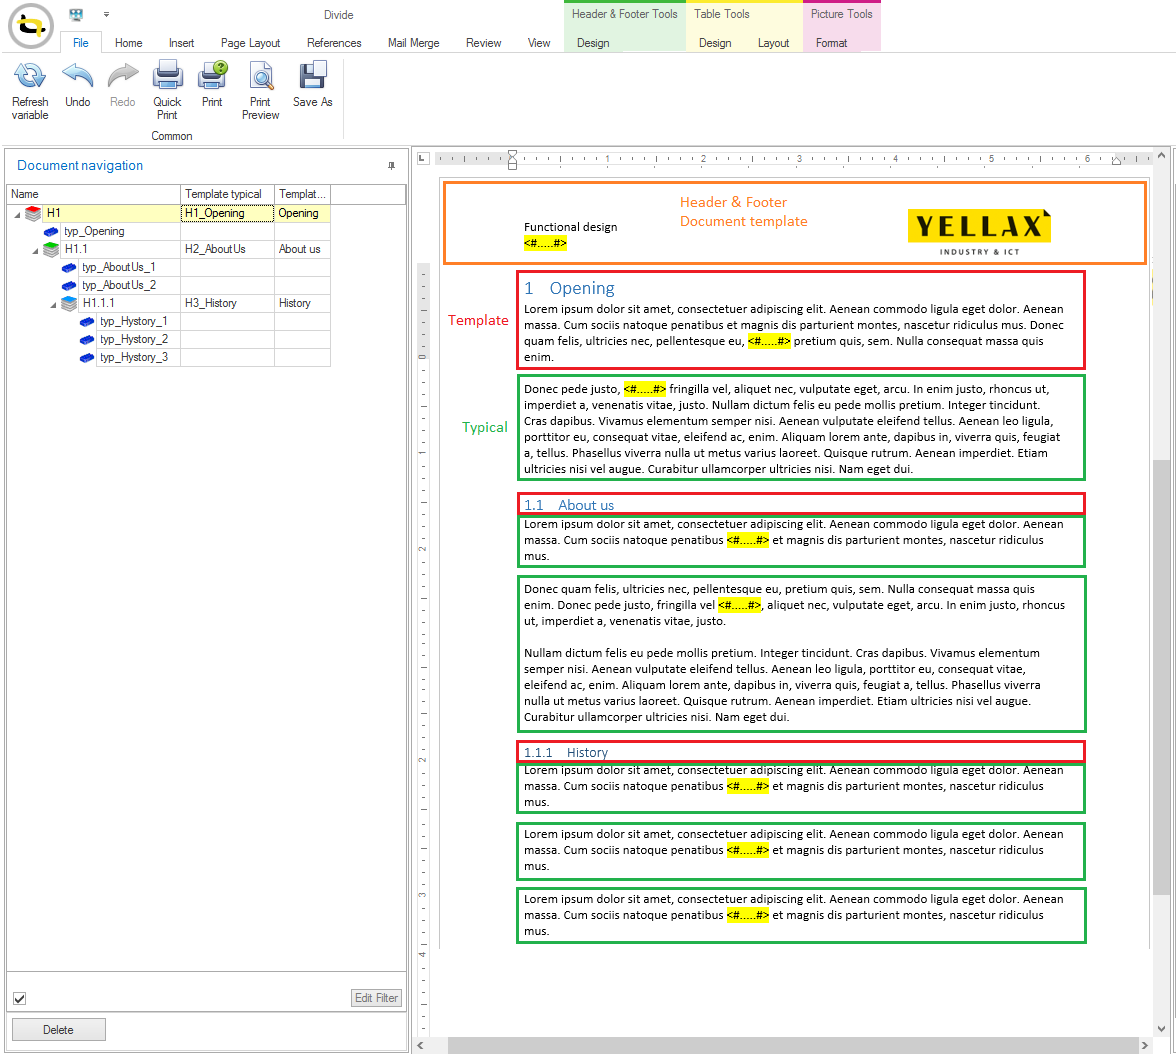
In this example you see a document which is created according to the document location format.
Legend for document below
- Yellow text = Document variable
- Red line = Text from template typical
- Green line = Text from typical
The flow below uses terms from the above explained items.
A number of Microsoft Word functionalities are not supported when used as a document typical.
Shapes e.q.: Text boxes, arrows and figures/diagrams
With 'not recognized' we mean that they will not appear inside the document that is created within Typical Manager.