![]()
In this window it is possible to place all the available I/O items in the project on the appropriate panel. You can do this by drag and drop the I/O items on the appropriate panel in detail window 'Panel'. You only can drag and drop I/O items which are selected (enabled). It is also possible to drag and drop a complete product on a panel. All the selected I/O items of this product are placed on the panel where you drop the product on. Multiple select is possible. In This window al selected I/O Items are shown, I/O items can be selected/deselected by choosing a different variant/options for that product.
If an electrical drawing (electrical module) is linked to an I/O item, the typicals of this electrical module are only available if the linked I/O item is selected and the electrical module and typicals self are selected.
See also:
Screen layout
Main window
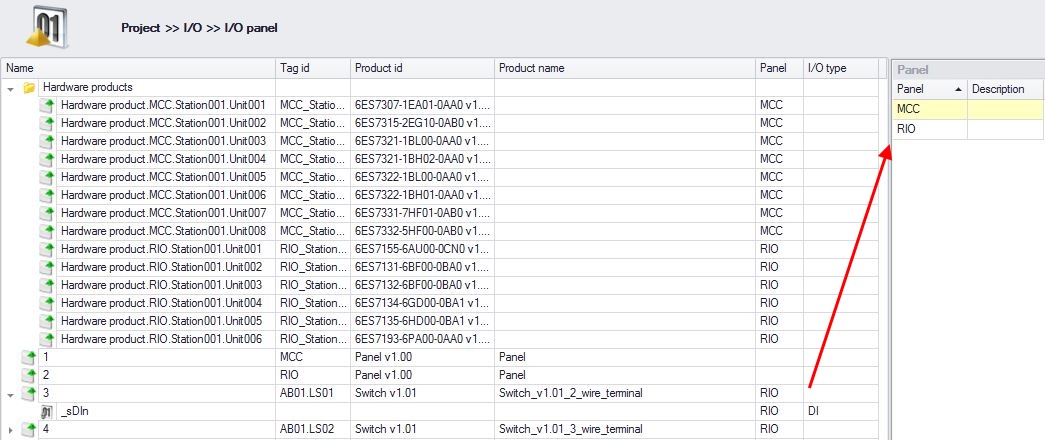
The main window displays a tree of available products with I/O. Function without an product and product without I/O are not shown.
Also, the first folder in the tree contains all hardware products, which are created by the hardware configuration.
Panel
This window shows a list of available panels in the current project.
I/O overview
When pressing the Refresh button, this detail window will show an overview of the amount of I/O items in the selected panel.
Actions
If a product is dragged on to a panel, all the I/O item of the product will be automatically assigned to the same panel. To change the panel to which an item is assigned, simply drag it onto another panel.
To remove the panel assignment, select the item from which the assignment should be removed and press '' in the 'Panel' column.
Enable/disable electrical I/O
I/O can be enabled/disable by configuring variant/options. If an I/O is enabled, it automatically takes over the panel of the product.
See also: